Call of Duty | Guides - Modern Warfare III Multiplayer Map Guide ...
Pack your snow gear for deployment to an isolated research outpost in the Caucasus Mountains of Urzikstan. This medium-sized map revolves around the main transport facility and its progressive elevation throughout the map—a long icy road cuts a path north of the building and a gantry passing under a suspended cable car passes through the southern route.
Trudge over the frozen ground outside for longer ranged battles or move into one of the map’s tight interior spaces to slug it out up close. Continue on for a full breakdown of the map including tips, shortcuts, and strategic points of interest.
In team-based modes, squads will either spawn by the Fuel Tanks (west) or the Overlook (east).
The central Station is the dominant feature separating the two spawns, some outbuildings and frozen ground filling out the map’s sides.
We’ve divided Incline into four sections based on key areas around the map:
- MAIN SPAWN POINT: Fuel Tanks (+ Research, Lookout, Courtyard)
- MAIN SPAWN POINT: Overlook (+ Mountain Rescue, Radio Towers)
- ADDITIONAL AREA: Gantry & Road (+ Sidewalk, Generator, Gas Tank)
- ADDITIONAL AREA: Station (+ Cable Car, Ice, Side Exit, Storage)
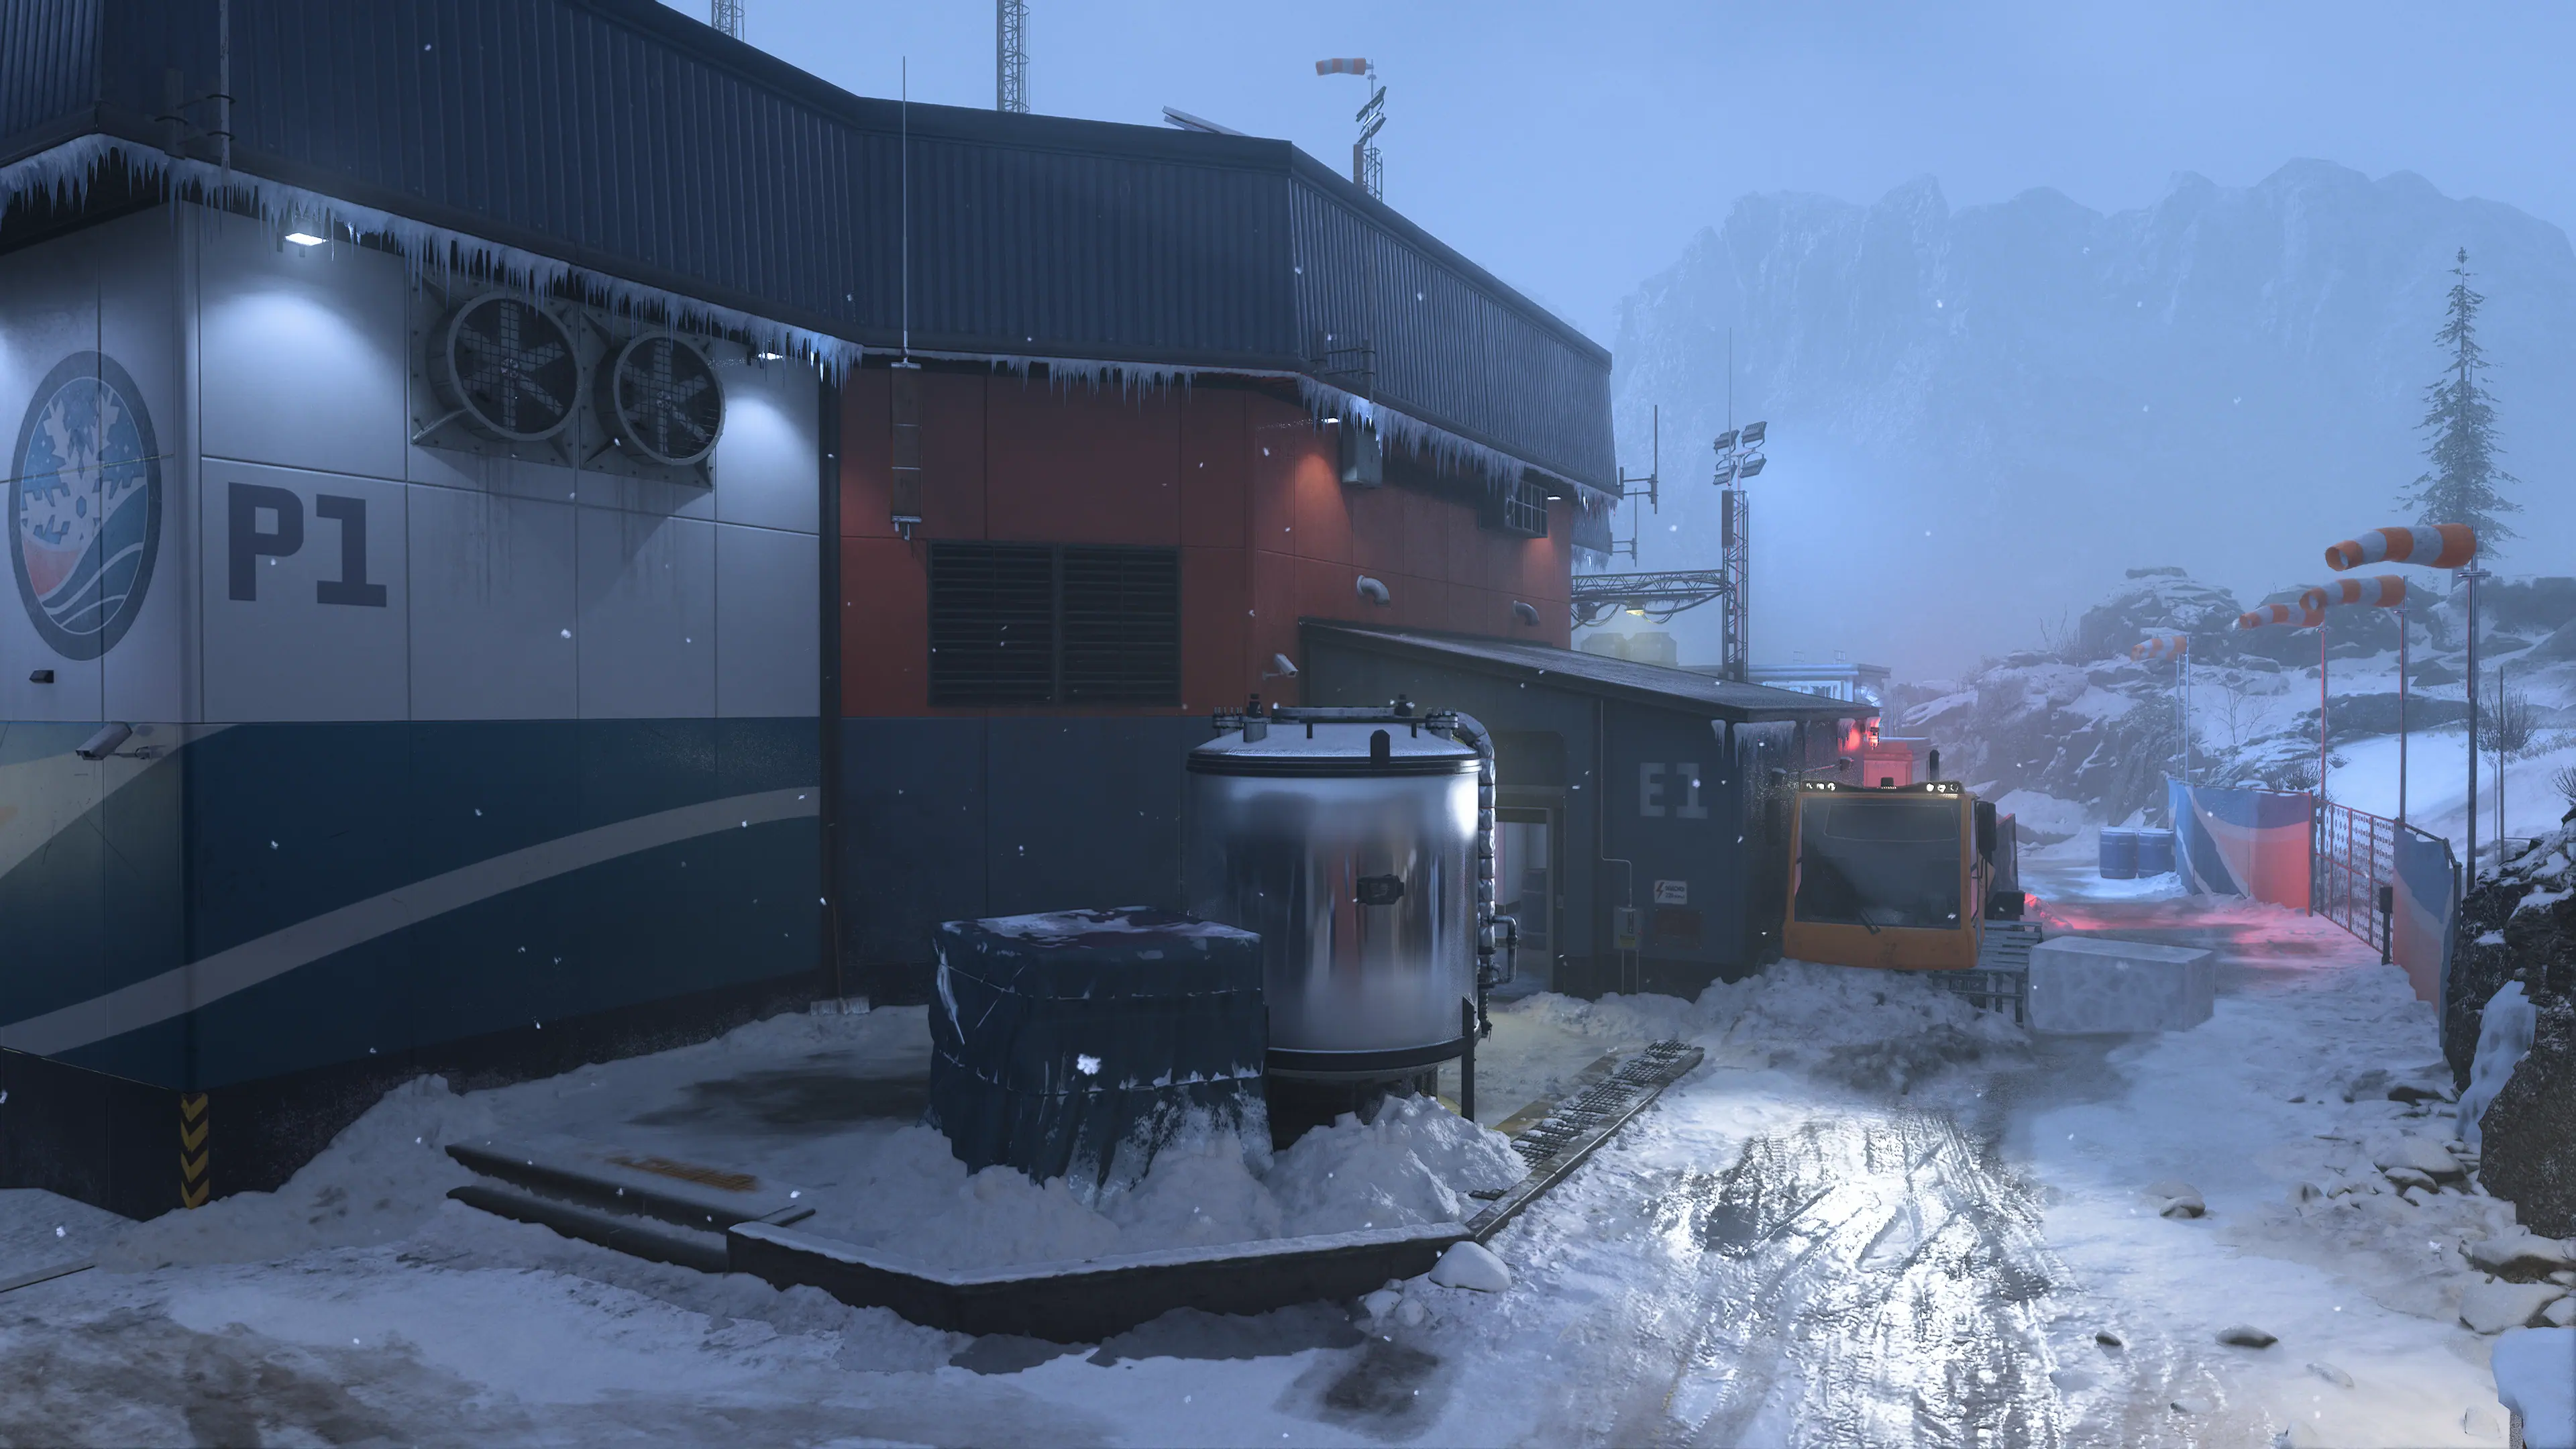
MAIN SPAWN POINT: Fuel Tanks (WEST)The Fuel Tanks sit at the far end of the northern Road at the edge of the map, stopping just short of the cliffside. Fight in the open over icy ground while keeping an eye on the nearby Research building and incoming activity from the Courtyard and upper Road.
While the Fuel Tanks themselves are inaccessible, you can climb up on the blue dividing wall or the parked vehicle for a greater view of the area. This lets you search for targets on the Road and the Courtyard, though you’ll double your own exposure in the process. For a stealthier approach, move up the Lookout path along the outside of the Research building.
Use Tac-Stance or prepare to fire from the hip when moving in Research, a small prefab unit with little cover inside and four doorways leading in and out. When you’re not busy fighting off intruders, use its exit points to look out onto the outer paths. Head back inside if you’re spotted and reposition to a new angle of attack.
Expect some intense fights around the Courtyard leading toward the Station’s Storage room. Branching pathways toward the lower Gantry and the nearby Generator provide multiple points of contact to be aware of. Use the parked vehicle for a quick defense if you’re caught in the middle.
MAIN SPAWN POINT: Overlook (EAST)The Overlook spawn features a long sight line toward the Station with branching paths toward the Radio Towers and the Mountain Rescue outbuilding. The Overlook area itself is on flat open ground like the opposite Fuel Tanks spawn. The parked vehicle here provides decent cover in a pinch or use it as a makeshift vantage point to fire down toward the Radio Towers.
These dominant towers obstruct views on the map’s southeast corner, making them an ideal ambush point against passing enemies. There’s no way to get in or on top of the buildings, but their hulking frames provide a strong defense for ground-based attacks.
Move into the Mountain Rescue building to force a close-ranged fight on your way to the northern Road. Stop by the south-facing doorway for a clear view of the open ground between the Radio Towers and Ice. When continuing to the Road, use the Container and adjacent blue barrel for cover against incoming attacks.
ADDITIONAL AREA: Gantry & RoadThe Gantry runs along the Station’s south wall, descending toward the middle where a Cable Car hangs suspended with views toward either side. Obstacles to the sides of the car can be used to jump inside, but watch your step when dropping back down; it’s a long fall if you overshoot the edge.
Jump up or down from the Station building to outflank your opponents. There are crates at either end of the Gantry and in the middle to mantle up onto.
Note the stacked crates pushed up against the Station wall on the East Gantry as well as the obstacles giving Operators the means to reach the inner Station from two points along the West Gantry. Use these shortcuts to get off the Gantry fast and flank any pesky enemies firing from within the Cable Car.
The frozen Road offers the longest sight lines on the map, ideal for sharpshooters wanting to down enemies from range with snipers. The blue barrels at either end offer natural cover positions when firing down the length of the Road, while the Station’s Side Exit can be used to cut the sight line in half for Operators who need to close the distance and outflank those fighting at long range. Use the Generator and Gas Tank to either side for additional cover when needed.
Climb up on the parked truck, Gas Tank, or Generator near the Side Exit to access its rooftop. This vital power position provides views all along the entire Road, not to mention its ideal location for ambushing enemies rushing out of the Station. Be aware of your increased exposure while up here, a worthwhile trade for the height advantage.
Though it’s the largest interior space on the map, the Station’s layout encourages close-quarters combat throughout. In the center, the shuttered car and the adjacent supporting column restrict sight lines across the room, so be prepared for sudden flashes of combat as you move around here, including in the adjoining Storage, Ice, and Side Exit rooms.
Use the available metal crates for cover or rely on your movement skills to outmaneuver enemies in the open. Try not to get caught in a cat-and-mouse chase around the middle car; this opens you to flank attacks from additional enemies moving into the building.
In addition to its views over the Gantry, the Cable Car offers a solid attacking point into the Station. The large windows offer an unobstructed view over the east floor and its walls help to conceal your position against enemies coming in from the sides. Be cautious of backing up too far thus exposing your Operator to attacks from the Gantry; and keep an ear out for enemies climbing into the Cable Car from below.
1. Right place, right weapon. Generally, mid- and long-ranged weapons perform best outside while close-ranged weapons rule the map’s small interior spaces. Snipers looking for longshots on the northern Road would do well to bring a Handgun or Melee Secondary Weapon as backup.
2. Guns up. There’s not much time between engagements on this high-octane map, so the readier you are, the better. Avoid sprinting around corners or reloading in the open and check your minimap for clues as to where the enemy is most likely to appear next. Be prepared when they do.
3. Clear the air. Bring along the Stormender Launcher to decimate enemy equipment and aerial streaks so that you and your team can stay focused on the ground. Pair it with the Scorestreaks setting to inch closer to your next streak every time you disable enemy electronics.
4. Heat it up. There’s nothing like the JAK Purifier Aftermarket Part to heat things up on this icy map. Attach it to a supported Assault Rifle for a lethal close-ranged option when squeezing through small spots like Research or Mountain Rescue.
5. Next stop: B flag. The suspended Cable Car offers the perfect defensive position over the B flag in Domination. The side views look over both ends of the Gantry with the flag positioned just out of view on the path’s lower portion. Even better, pair up with a teammate to cover the Station-facing windows.
6. Use the latest tools. Look out for the JAK Gunslinger and other Aftermarket Parts arriving via Weekly Challenges in Season 4. The Gunslinger offers a major increase to the Basilisk Handgun’s rate of fire, while others may be perfect for competing in the map’s many tight spaces.
7. Opposites attract. Send an Operator with the new Reclaimer 18 Shotgun to the Station’s northern Side Exit while another covers the Road with a Sniper Rifle. Communicate and cut off enemies from close and long range, leaving them scrambling to find a path through.
8. Tactical retreat. While aggressive play wins the day, you’ve got to be smart, too. If you turn the corner into a mob of enemies, pull back behind cover and make them come to you, ideally once you’ve repositioned near some teammates.
9. Red light ambush. The alcove with the red light in the Lower Gantry marks a strong ambush point against enemies moving in from the sides and the Station. Use it to take out passing enemies and look to the area when nearby to avoid the same fate.
10. Call for help. On small maps like Incline, it can be easy to get distracted and drop the objective in favor of racking up eliminations. Combine a high streak with objective play that wins the match by calling out threats and opportunities to keep your squad focused.
And most importantly:
© 2024 Activision Publishing, Inc. ACTIVISION, CALL OF DUTY, and MODERN WARFARE are trademarks of Activision Publishing, Inc. All other trademarks and trade names are the property of their respective owners.
For more information, please visit www.callofduty.com and www.youtube.com/callofduty, and follow @Activision and @CallofDuty on X, Instagram, and Facebook. For Call of Duty Updates, follow @CODUpdates on X.


